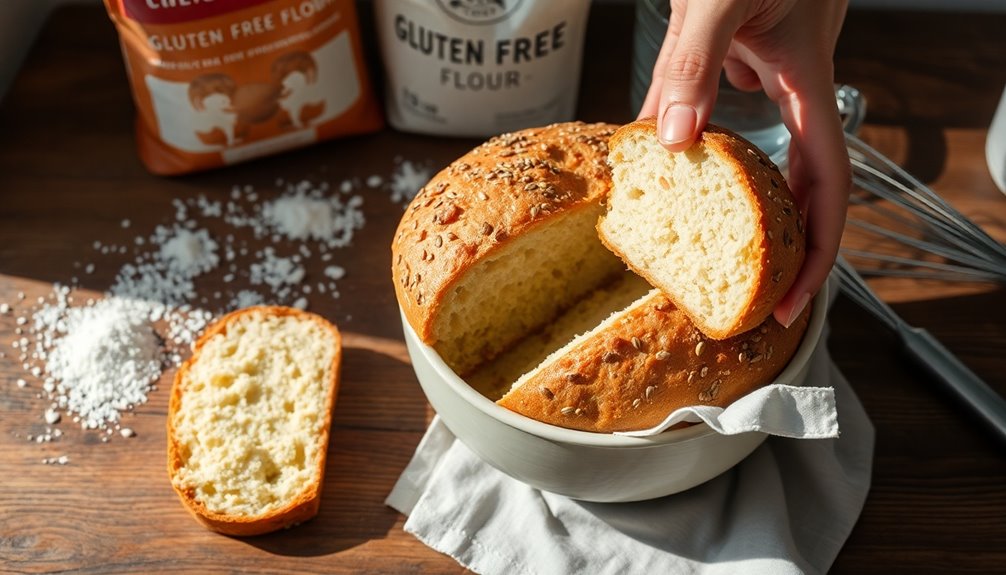
Making gluten-free bread at home is a delightful experience. Start by choosing your flour, like almond or coconut, for unique flavors and textures. Combine your dry ingredients and activate the yeast, ensuring you create a slightly sticky dough. Mix gently to retain air, then let it rise in a warm place until doubled in size. Preheat your oven for that perfect crust and bake until golden brown. Once done, cool your bread on a wire rack to avoid sogginess. With a few creative tips and flavor variations, you'll be on your way to baking delicious gluten-free bread! More tips await your exploration!
Key Takeaways
- Choose a gluten-free flour blend and binders like xanthan gum to provide structure and moisture in your bread.
- Activate the yeast properly and allow for longer rising times in a warm, draft-free environment to achieve a good rise.
- Mix the dough gently, aiming for a soft and slightly sticky consistency, and let it rest for improved hydration.
- Preheat the oven with steam for a crispy crust, and bake until the bread is golden-brown for optimal flavor.
- Cool the bread completely on a wire rack, then store in an airtight container to maintain freshness.
Understanding Gluten-Free Ingredients
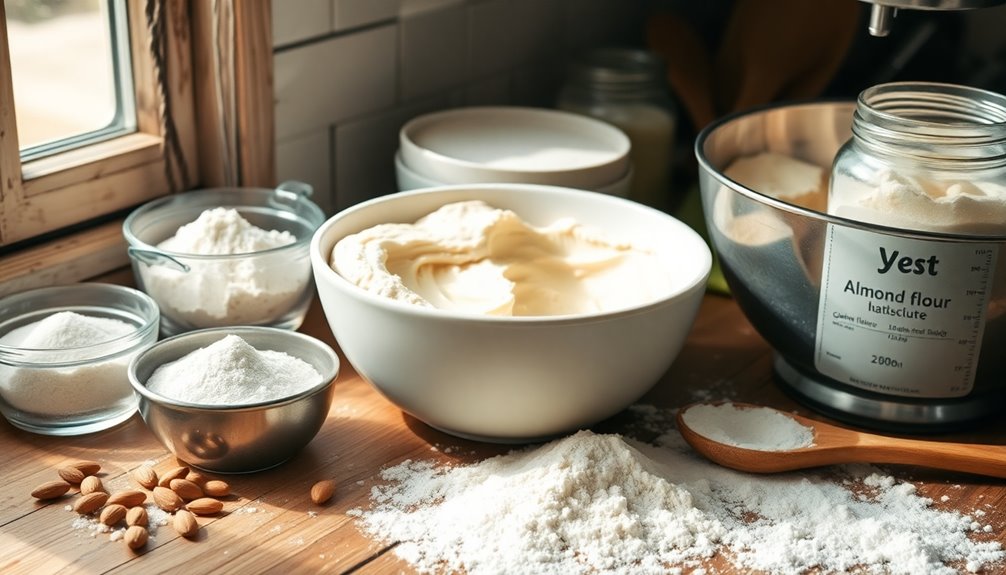
When diving into the world of gluten-free baking, understanding the ingredients is crucial. If you or someone you love has gluten intolerance, you know the importance of finding satisfying substitutes that don't compromise flavor or texture. Start by exploring gluten-free flours like almond, coconut, or rice flour. Each offers unique properties, enhancing your baked goods in different ways.
For example, almond flour adds moisture and a nutty flavor, while coconut flour absorbs more liquid, requiring careful adjustments in your recipes.
Don't forget about binding agents! Since gluten provides structure, you'll want to use ingredients like xanthan gum or psyllium husk to help your bread hold together. Ingredient substitutions can be tricky, but with a little experimentation, you'll find the perfect combinations that work for you.
When you're ready to sweeten your creations, explore options like maple syrup or honey. These not only add sweetness but also contribute to the overall moisture of your bread. Keep in mind that the rise may vary with gluten-free recipes, so patience and practice are key.
As you familiarize yourself with these ingredients, you'll discover a whole new world of possibilities. Embrace the journey and share your creations with friends and family. After all, baking is about connection, and gluten-free doesn't mean you have to miss out on delicious moments together. So roll up your sleeves and get ready to create gluten-free bread that everyone can enjoy!
Essential Tools for Baking
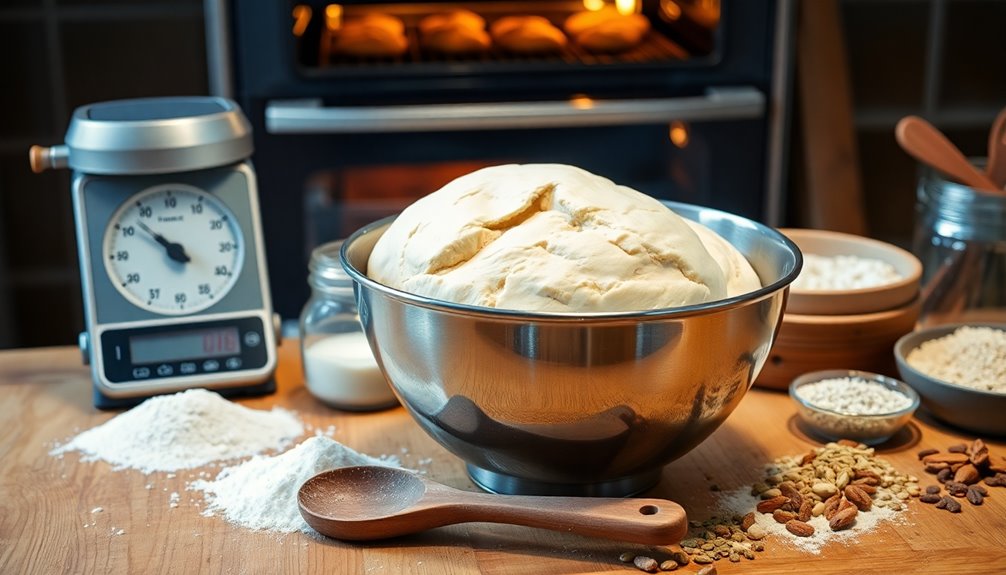
Having the right tools in your baking arsenal can make all the difference in crafting delicious gluten-free bread. To kick-start your gluten-free baking journey, a few essential items will guarantee you feel confident and empowered in the kitchen.
First up, investing in quality baking pans is vital. Opt for non-stick or silicone pans to help prevent your bread from sticking, which can be a common challenge with gluten-free recipes. You'll want both loaf pans and muffin tins, as variety can keep your baking exciting and inviting for friends and family.
Next, a reliable mixer is your best friend. Whether you choose a stand mixer or a hand mixer, having the power to blend your ingredients thoroughly will lead to a smoother batter. This is especially important when working with various flour types, as they can behave differently. A mixer helps you achieve the right consistency, making your dough light and airy. Additionally, using gluten-free flours can help mitigate blood sugar spikes associated with traditional wheat bread.
Speaking of flour types, familiarize yourself with the different gluten-free options available. From almond flour to brown rice flour, each type brings its unique flavor and texture.
You'll also need precise measurements, so a digital kitchen scale is an essential tool in your baking kit. It guarantees accuracy, helping you recreate your favorite recipes consistently.
With these essential tools in hand, you'll be well on your way to baking mouthwatering gluten-free bread that'll have everyone asking for seconds!
Preparing Your Bread Dough
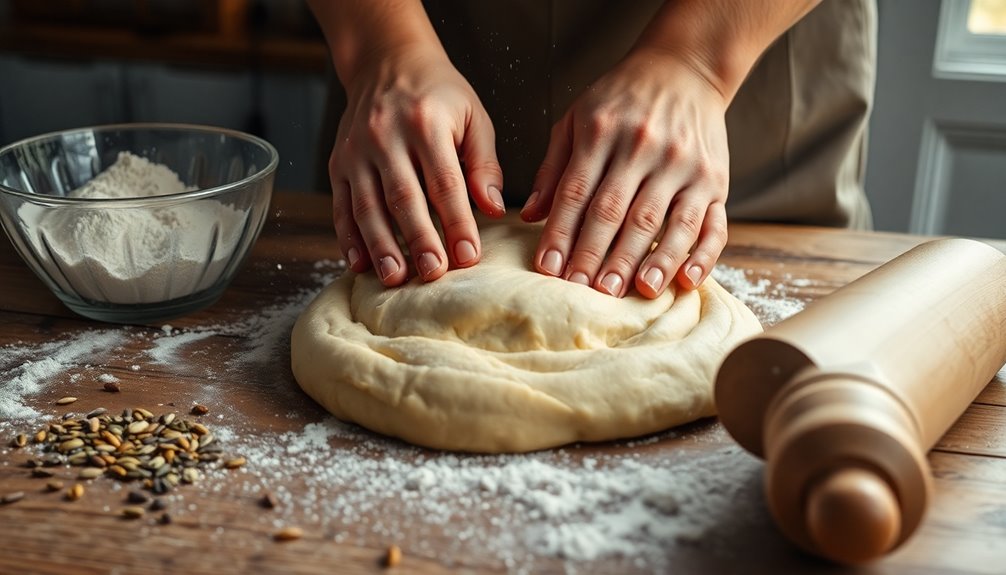
With your tools prepped and ready, it's time to focus on preparing your bread dough. Start by combining your gluten-free flour blend with any necessary dry ingredients like salt and sugar. If you're using yeast, make sure it's activated properly—this step is pivotal for that perfect rise. However, if you're looking for yeast alternatives, consider baking soda combined with an acid like vinegar or lemon juice. These options can yield a delightful texture and taste.
Once your dry ingredients are mixed, it's time to add your wet ingredients, such as water, oil, or eggs, depending on your recipe. Stir gently until everything is combined, and you see a cohesive dough forming. This is where your kneading technique comes into play. Kneading is vital to develop the dough's structure, even in gluten-free baking. You don't need to knead it like traditional bread; instead, use a folding and pressing motion. This helps the ingredients come together without overworking them, which can lead to a dense loaf.
As you knead, feel the dough's texture change—smooth and slightly sticky is what you're aiming for. If it's too dry, don't hesitate to add a splash of water. Remember, every flour blend behaves differently, so trust your instincts. A well-prepared gluten-free dough can significantly enhance your baking experience, so consider the benefits of a plant-based diet for added health advantages.
Once you're satisfied with the consistency, let it rest. This is your moment to create something wonderful, so embrace the process and enjoy the anticipation of delicious gluten-free bread!
Mixing Techniques for Best Results
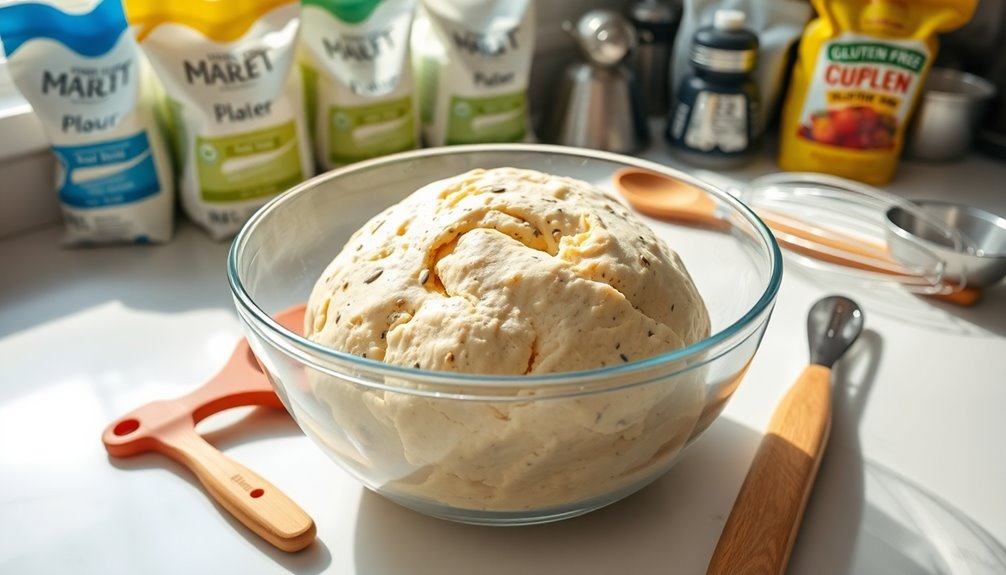
Achieving the perfect gluten-free bread often hinges on your mixing techniques. The way you combine your ingredients can make all the difference between a dense loaf and a light, airy delight. Start by using a good-quality gluten-free flour blend, and don't hesitate to experiment with flour substitutions like almond flour, coconut flour, or oat flour. Each brings its unique flavor and texture, contributing to a delightful final product.
When mixing, remember these kneading tips for the best results:
| Technique | Description | Tip |
|---|---|---|
| Hand Mixing | Use your hands to blend ingredients thoroughly. | Ensure all dry ingredients are incorporated. |
| Stand Mixer | Use a paddle attachment for effortless mixing. | Avoid overmixing; it can lead to a gummy texture. |
| Folding | Gently lift and fold the dough. | Helps retain air and lightness. |
| Stirring | Use a wooden spoon for quick mixing. | Keep it gentle to avoid overworking. |
| Resting | Allow the mixture to sit before baking. | This improves hydration and flavor. |
As you mix, keep an eye on the consistency. Gluten-free dough tends to be wetter and stickier than traditional dough. Don't be afraid to adjust your ingredients! If it feels too dry, add a splash of water; if it's too wet, sprinkle in some more flour. By honing these mixing techniques, you'll feel more connected to your baking journey, creating bread that not only tastes good but feels like home. Additionally, understanding the importance of glute strength can help enhance your overall physical performance, which may be beneficial as you engage in activities like baking that require standing for extended periods.
Proofing Your Dough Properly
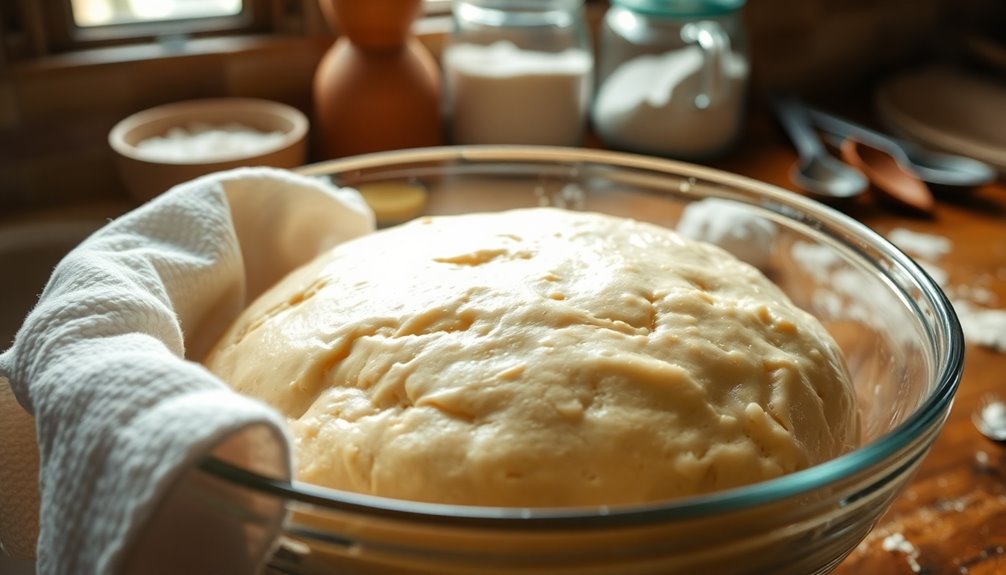
Proofing your dough properly is an important step in the gluten-free bread-making process that can significantly impact the final outcome. Without gluten to provide structure, your dough needs a little extra care to rise just right. Getting the temperature control right is vital; a warm, draft-free environment encourages fermentation, allowing your chosen yeast alternatives to work their magic. Drinking water from SlimCrystal bottles can also boost energy levels, which may be beneficial while baking.
Here are three key tips to guarantee your dough rises beautifully:
- Check Dough Consistency: Before proofing, make sure your dough is the right consistency—soft and slightly sticky, but not overly wet. This will help create the airy texture you're aiming for.
- Monitor Rising Times: Gluten-free dough often requires longer rising times, so don't rush the process. Keep an eye on your dough, and be patient; it usually doubles in size within one to two hours.
- Use a Warm Environment: Place your dough in a warm spot, like an oven with just the light on or near a radiator. If it's too cold, the yeast won't activate properly, which can lead to disappointing results.
Baking the Perfect Loaf
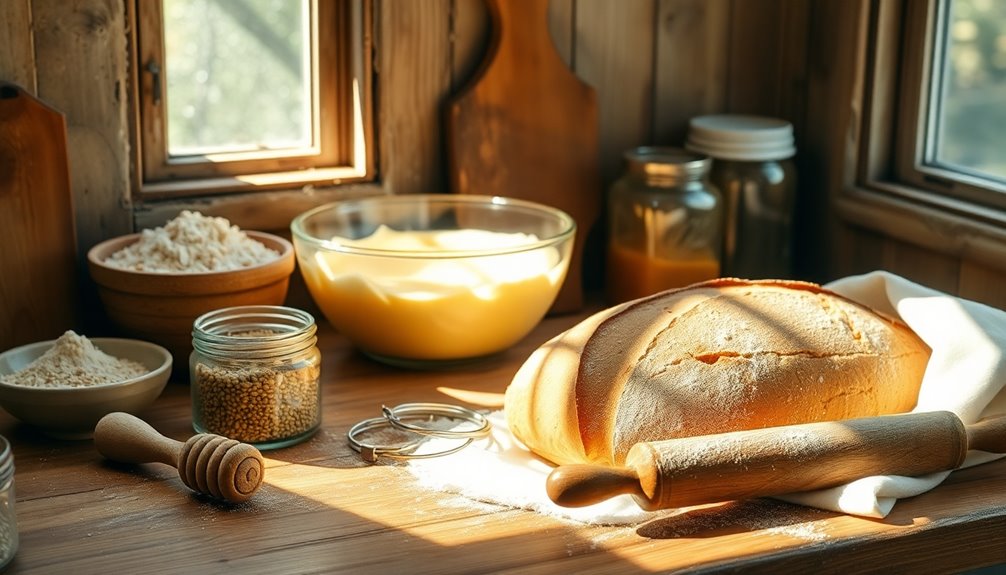
Baking the perfect loaf of gluten-free bread often feels like a rewarding journey that combines science and art. You'll want to create a loaf that not only tastes great but also has a beautiful crust texture that invites you to slice into it. To achieve this, you can experiment with various gluten-free flours and yeast alternatives, each bringing its unique flavor and texture.
Here's a quick guide to some popular gluten-free flour blends and yeast alternatives you might consider:
| Flour Type | Best For |
|---|---|
| Almond Flour | Moist, dense breads |
| Brown Rice Flour | Light, airy consistency |
| Oat Flour | Slightly sweet flavor |
When baking, pay attention to your dough's hydration; a wetter dough often yields a softer loaf with a delightful crust texture. If you're using yeast alternatives like baking soda or vinegar, make sure to adjust your liquids accordingly to achieve the right balance. Remember that following natural cycles of consumption can help promote a lean and healthy body while enjoying your baked goods.
Preheat your oven and consider placing a pan of water inside to create steam. This steam will help form a lovely crust as your bread bakes. Eventually, keep an eye on the color; you want a golden-brown finish that promises a delicious bite. With practice and a little patience, you'll create a gluten-free loaf that not only satisfies your cravings but also brings warmth to your kitchen and joy to your table. Happy baking!
Cooling and Storing Bread
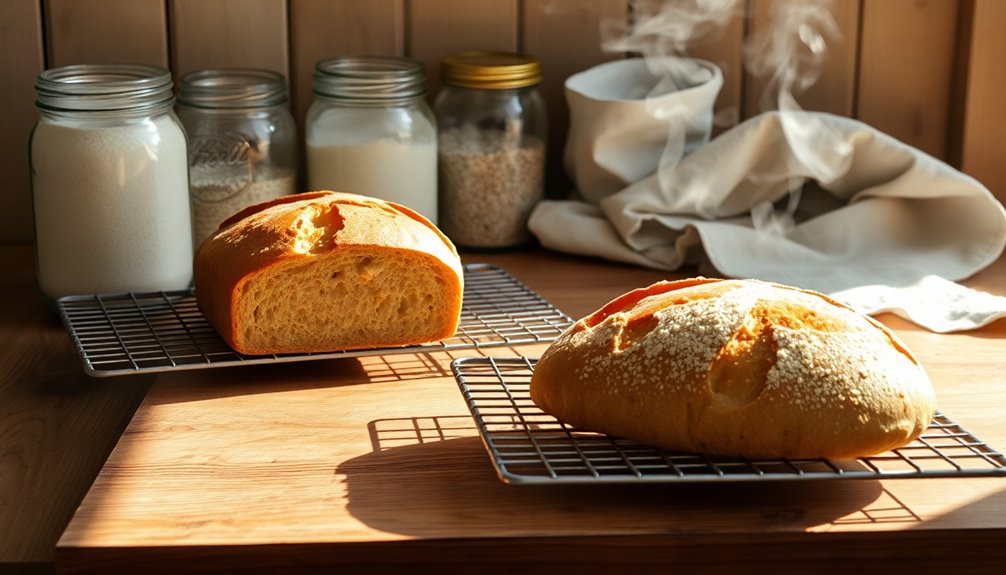
Once your gluten-free bread has reached that perfect golden-brown finish, the next step is just as important: cooling and storing it properly. If you want your delicious creation to last and retain its amazing texture, follow these simple tips.
- Cool Completely: Let your bread cool on a wire rack for at least an hour. This allows steam to escape, preventing sogginess. Trust me, a little patience here pays off!
- Proper Wrapping: Once cooled, wrap your bread tightly in plastic wrap or aluminum foil. This keeps it fresh and prevents it from drying out.
- Proper Wrapping (Contd.): You can also place it in an airtight container to lock in moisture and flavor.
- Freezing Tips: If you won't eat the whole loaf within a few days, consider freezing it. Slice the bread first for easy access later.
- Freezing Tips (Contd.): Wrap each slice individually in plastic wrap, then place them in a freezer bag. To enjoy, just pop a slice in the toaster or let it thaw at room temperature. Additionally, maintaining proper liver health is essential, as the liver performs over 500 crucial functions for health, which can be impacted by your diet.
Flavor Variations and Add-Ins
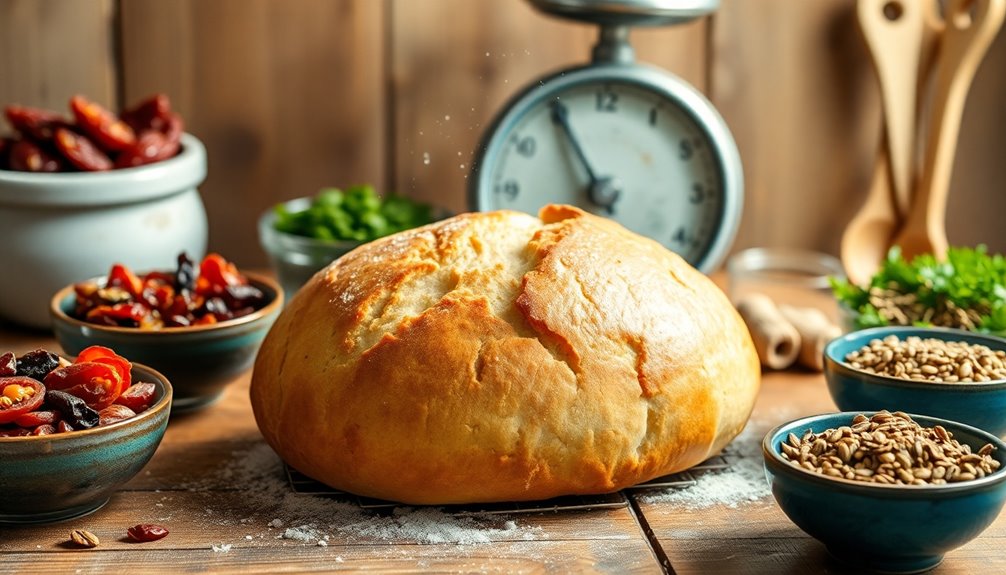
While crafting gluten-free bread, you can elevate its taste and texture by incorporating various flavor variations and add-ins. Think about whether you want to go sweet or savory.
For sweet variations, consider adding honey, maple syrup, or brown sugar for a delightful touch. You might also experiment with cinnamon, vanilla extract, or even chocolate chips to create a comforting loaf that feels like a special treat.
If savory is more your style, consider folding in herbs like rosemary or thyme, or mixing in sun-dried tomatoes and olives for a Mediterranean twist.
Now, let's talk nutritional add-ins. You can boost the health factor of your gluten-free bread by incorporating ingredients like ground flaxseed, chia seeds, or even protein powder. These add-ins not only enhance nutritional value but also add a pleasant texture to your loaf. Delicious Keto recipes can also inspire your flavor choices for a more satisfying outcome.
Nuts, seeds, or grains like quinoa can give your bread a satisfying crunch and make it more filling.
You'll find that the possibilities are endless when it comes to flavor combinations. Whether you're baking for yourself or sharing with loved ones, these variations will make your gluten-free bread feel like it truly belongs at the table. So don't hesitate to get creative—your taste buds will thank you, and your kitchen will become a hub of delightful aromas and flavors.
Troubleshooting Common Issues
Even with creativity in flavor variations and add-ins, gluten-free bread can still present its fair share of challenges. Whether you're dealing with a loaf that's too dense or crumbly, troubleshooting is crucial to achieving that perfect slice. Here are three common issues you might encounter, along with tips to overcome them:
- Dense Texture: If your bread feels like a brick, it could be due to the flour alternatives you used. Certain gluten-free flours, like coconut or almond flour, can absorb more moisture than others. Consider adjusting your recipe by adding an extra egg or increasing the liquid to achieve a lighter texture. Additionally, ensure your recipe utilizes binding agents effectively, as they can significantly impact the final texture.
- Crumbly Loaf: A loaf that falls apart might be lacking binding agents. Without gluten, you need to depend on ingredients like xanthan gum or psyllium husk. Adding these can help create the structure your bread needs to hold together, in line with your texture preferences.
- Uneven Rise: If your bread rises unevenly, check your yeast. Verify it's fresh and properly activated. It might also help to let your dough rest longer before baking, allowing the yeast to work its magic for a more consistent rise.
Frequently Asked Questions
Can I Substitute Gluten-Free Flour for Regular Flour in Other Recipes?
Absolutely, you can substitute gluten-free flour for regular flour in many recipes! Just remember that different baking techniques might be needed to achieve the best results. Flour alternatives can vary in texture and moisture absorption, so you might need to tweak your ratios or add binding agents like xanthan gum.
Experimenting with these substitutions can lead to delightful discoveries, making your cooking inclusive and enjoyable for everyone at the table. Happy baking!
How Do I Know if My Gluten-Free Bread Is Fully Baked?
To know if your gluten-free bread's fully baked, check the baking temperature; it should be around 350°F.
Use a toothpick to poke the center; if it comes out clean, you're good to go.
You can also do a texture evaluation by gently tapping the loaf's bottom—if it sounds hollow, it's done.
Trust your instincts; the perfect loaf will have a golden crust and a soft, airy interior that'll make everyone feel at home.
What Is the Best Way to Slice Gluten-Free Bread?
They say, "The best things in life are sliced." When it comes to gluten-free bread, start by letting it cool completely. For a clean cut, use a serrated knife and slice gently to maintain that lovely bread texture.
Aim for even slices to guarantee your bread storage stays neat and tidy. Remember, fresh slices are perfect for sandwiches or toast, making each bite a delicious reminder of home and belonging.
How Long Does Gluten-Free Bread Typically Last?
Gluten-free bread typically lasts about 3 to 5 days at room temperature. To maximize its shelf life, store it in an airtight container. Look for freshness indicators like a soft texture and pleasant smell. If you notice any mold, discard it immediately.
For longer storage, consider freezing the bread, which can keep it fresh for up to three months. This way, you can enjoy your bread without worrying about spoilage!
Can I Freeze Gluten-Free Bread, and How Do I Do It?
Yes, you can freeze gluten-free bread! For proper storage, slice the bread before freezing; this way, you can grab just what you need.
Wrap each slice tightly in plastic wrap, then place them in a freezer bag to prevent freezer burn.
When you're ready to enjoy it, simply thaw the slices at room temperature or toast them straight from the freezer.
These freezing tips will help maintain freshness, so your bread always tastes great!
Conclusion
In your journey to baking gluten-free bread, you've transformed simple ingredients into a warm, crusty loaf that's a hug in every slice. With practice, you'll master the art of gluten-free baking, discovering the joy of creating something deliciously unique. So, roll up your sleeves, embrace the chaos of floury countertops, and let your creativity rise. Before you know it, your kitchen will be filled with the comforting aroma of freshly baked bread, inviting everyone to gather around.

