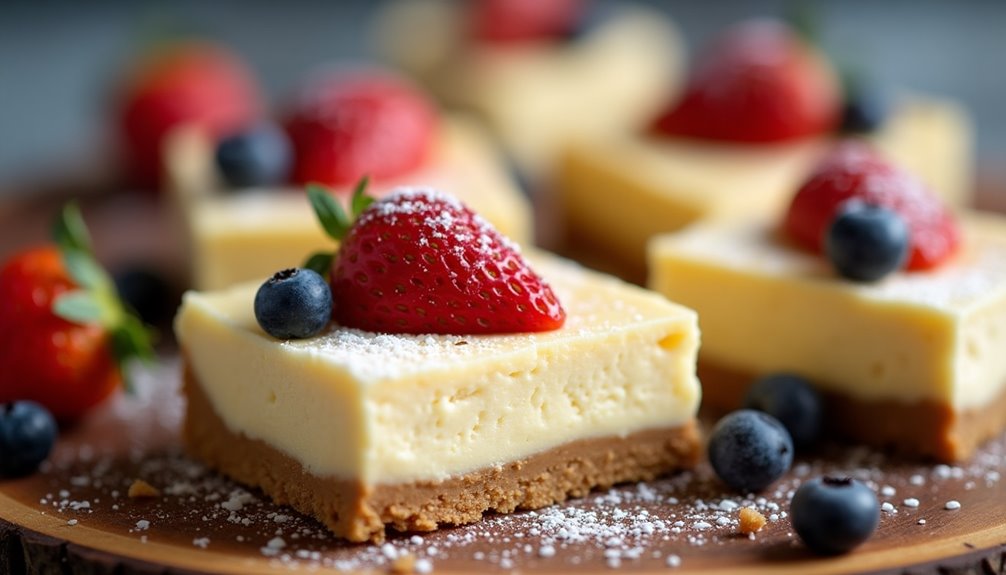
You'll love making gluten-free cheesecake bars that combine a creamy filling with a deliciously sturdy crust. Start by using almond flour or gluten-free graham cracker crumbs for the crust, mixing them with melted butter and sugar. For the filling, combine softened cream cheese, sugar, and eggs, then mix in your favorite flavors like vanilla or lemon zest. Bake until slightly jiggly, cool, and chill before serving. Add some fresh fruit or whipped cream on top for an extra touch. Want to explore more tips and tasty variations? There's so much more to discover!
Key Takeaways
- Use a gluten-free crust made from almond flour or gluten-free graham cracker crumbs blended with melted butter and sugar.
- Combine cream cheese, eggs, and sugar to create a smooth filling, adjusting sweetness based on flavor preferences like lemon or chocolate.
- Bake at 325°F for 25-30 minutes until the center is slightly jiggly, ensuring a creamy texture.
- Cool at room temperature for an hour, then refrigerate for at least two hours before serving for best flavor and texture.
- Enhance presentation with toppings like fresh fruit, powdered sugar, or chocolate ganache to make the bars visually appealing.
Ingredients You'll Need
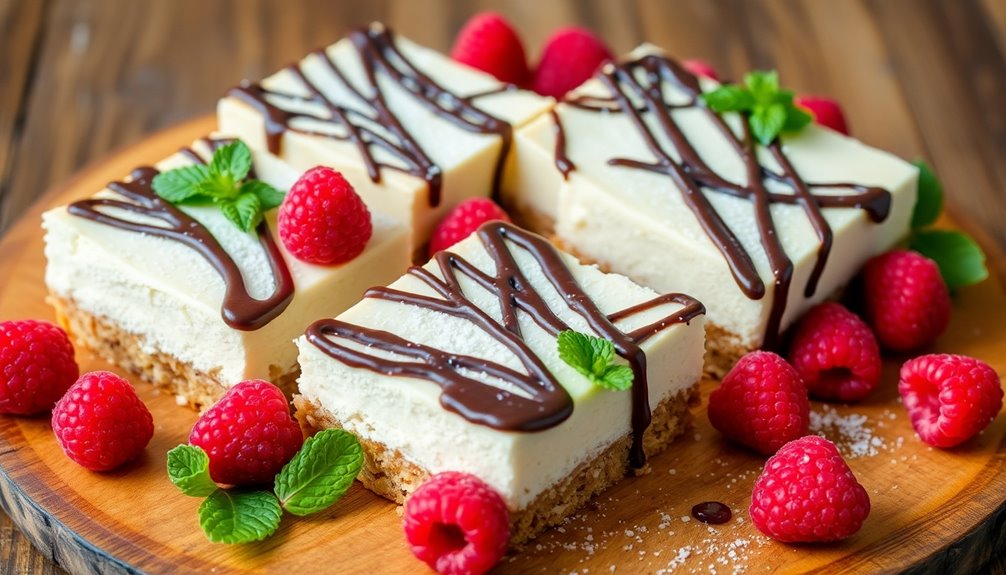
To whip up delicious gluten-free cheesecake bars, gather the essential ingredients that will make your dessert irresistible. Start with a gluten-free crust, using almond flour or crushed gluten-free cookies as a base. If you want to swap out the almond flour for something different, coconut flour works well, too; just remember to adjust the liquid ratio since it absorbs moisture differently.
For the cheesecake filling, you'll need cream cheese, eggs, and sugar. If you're looking for ingredient substitutions, consider using Greek yogurt or a dairy-free cream cheese if you're catering to dietary restrictions. Both options maintain creaminess while offering a lighter touch.
Now, let's talk about flavor combinations. Classic vanilla is always a hit, but don't hesitate to experiment! Try adding lemon zest for a fresh twist, or swirl in some raspberry puree for a stunning visual and a burst of flavor. You could even mix in a bit of chocolate or peanut butter for those indulgent moments.
Lastly, consider adding a touch of vanilla extract or almond extract to elevate the flavors. It's all about what your taste buds crave and what makes you feel connected to those you share this dessert with. So, gather your ingredients, have fun with your flavor combinations, and get ready to create a treat that everyone will enjoy!
Preparing the Crust
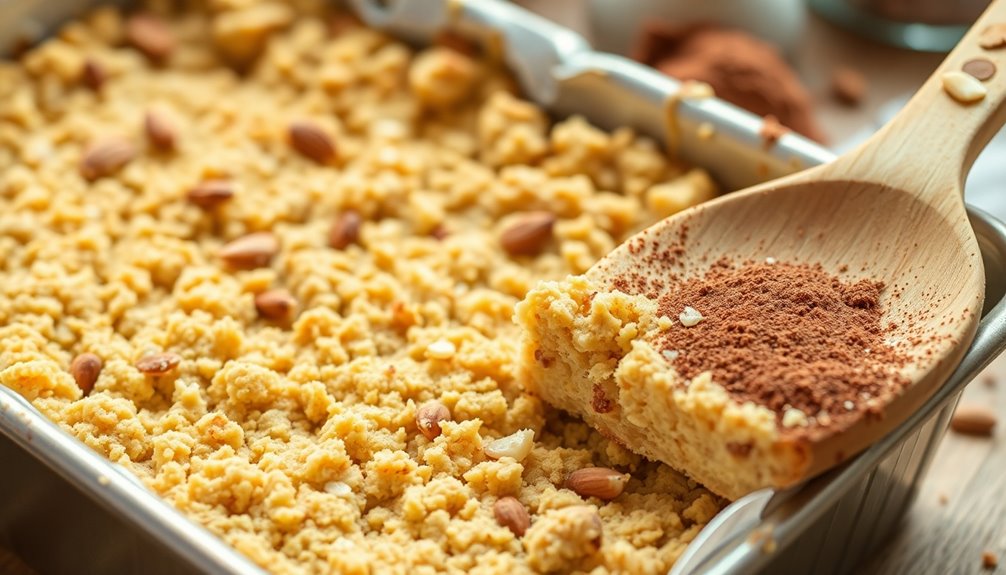
A solid crust is vital to your gluten-free cheesecake bars, and preparing it's a breeze. You'll want to start by choosing your favorite crust options that align with your flavor choices and texture preferences.
For a classic base, consider using gluten-free graham cracker crumbs. If you're feeling adventurous, you might try almond flour or crushed nuts for a nutty twist.
To make your crust, simply combine your chosen crumbs with melted butter and a touch of sugar. This mixture will hold everything together beautifully. If you prefer a sweeter crust, feel free to adjust the sugar amount based on your taste. For those who need gluten-free substitutions, make sure that the ingredients you're using are certified gluten-free.
Once everything's mixed, press the crust mixture firmly into the bottom of your baking dish. This step is essential; a well-pressed crust will provide a sturdy foundation for your cheesecake bars.
You might want to bake the crust for about 10 minutes at 350°F to enhance the flavors and bring out a golden hue.
Making the Cheesecake Filling
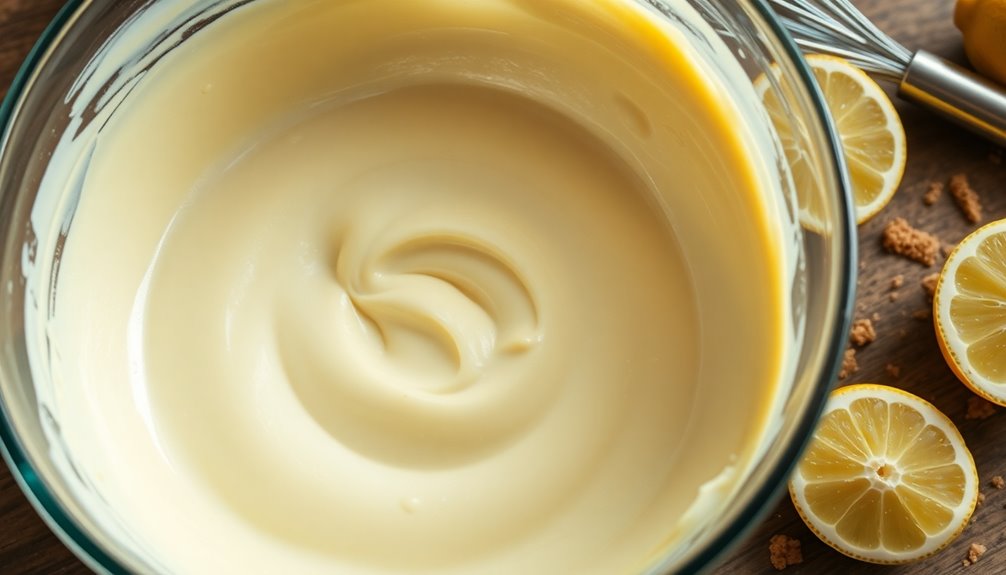
With the crust ready, you can now turn your attention to the creamy cheesecake filling. This is where the magic happens, and you want it to be smooth and luscious. Start by letting your cream cheese reach room temperature. This guarantees you achieve that perfect cream cheese consistency that'll make your cheesecake bars irresistible.
In a mixing bowl, combine the softened cream cheese with sugar. Use a hand mixer or stand mixer, and remember to scrape down the sides to incorporate all the ingredients fully. This method helps avoid any lumps, giving you a silky filling. Once you've got that down, it's time to add your eggs, one at a time, mixing gently after each addition.
Now, let's talk flavor options! You can keep it classic with vanilla extract or get creative by adding lemon zest, pumpkin puree, or even chocolate for a twist. Just make certain you adjust the sweetness levels based on your flavor choice—more sweetness for richer flavors and less for tart options.
Assembling the Bars
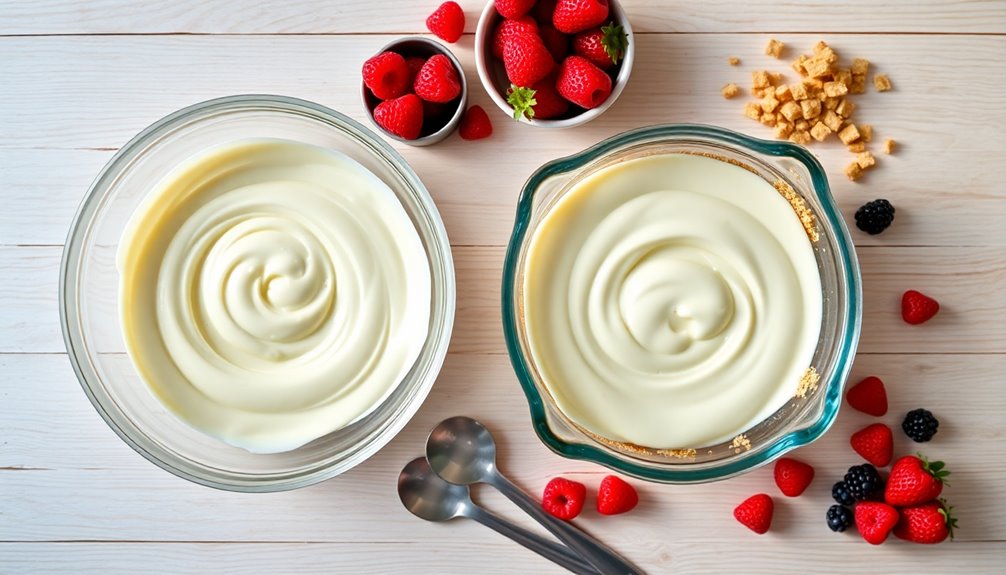
Now that your creamy cheesecake filling is ready, it's time to layer it onto the crust. Grab your cooled, crumbly crust and make sure it's ready to hold all that deliciousness you've prepared.
Gently pour the smooth filling over the crust, using a spatula to spread it evenly. This is where the magic happens; you're creating a beautiful harmony between the crust and the filling.
As you pour, be mindful to avoid any air bubbles. They can disrupt the perfect texture you're aiming for. If you notice any, simply give your pan a gentle shake or tap it on the counter to release them. It's all about achieving that silky, smooth finish that'll wow your friends and family.
Once you've spread the filling evenly, take a moment to admire your creation. You're not just assembling a dessert; you're crafting something to share. Whether it's for a special occasion or just a cozy night in, these bars are meant to be enjoyed together.
Now, if you want to elevate your bars even more, consider adding a sprinkle of gluten-free graham cracker crumbs or a drizzle of fruit sauce on top before they go into the oven. It not only adds a touch of flair but also invites everyone to dig in and enjoy.
You've come so far in this process, and you're almost there. Get ready to bake, because soon, you'll be savoring these delightful gluten-free cheesecake bars!
Baking Instructions
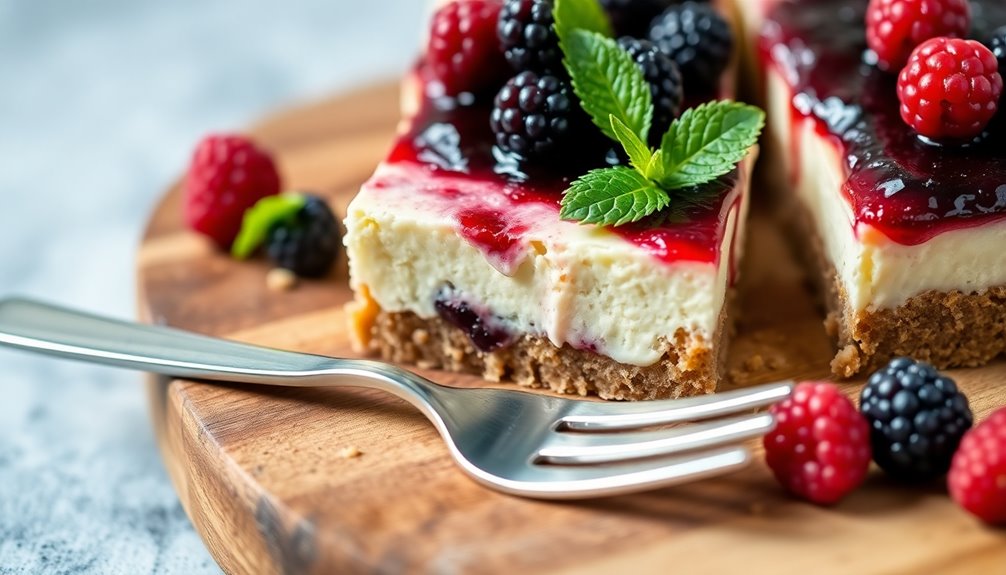
How long should you bake your cheesecake bars for the perfect texture? Generally, you'll want to bake them for about 25 to 30 minutes at 325°F (160°C). You're looking for that slight jiggle in the center—it's a certain sign they're done without becoming overly firm. If you find they're browning too quickly, cover them loosely with foil. Remember, these baking tips can help you troubleshoot any issues that pop up!
To guarantee your bars are as delicious as they're beautiful, think about flavor combinations. Consider adding a swirl of berry puree or a sprinkle of lemon zest to the batter before baking. These little touches not only enhance the taste but also add a pop of color, making your presentation ideas stand out.
Once your bars are in the oven, resist the urge to open the door too soon. Doing so can disrupt the temperature inside, leading to uneven baking. Instead, set a timer and use that time to prepare your favorite toppings—maybe some gluten-free graham cracker crumbs or a drizzle of chocolate ganache.
When the baking time is up, verify for doneness by gently shaking the pan. If the edges look set but the center still has that delightful jiggle, you've nailed it! Enjoy the process, and soon you'll be sharing your irresistible cheesecake bars with friends and family, creating those warm moments of togetherness over delicious treats.
Cooling and Serving
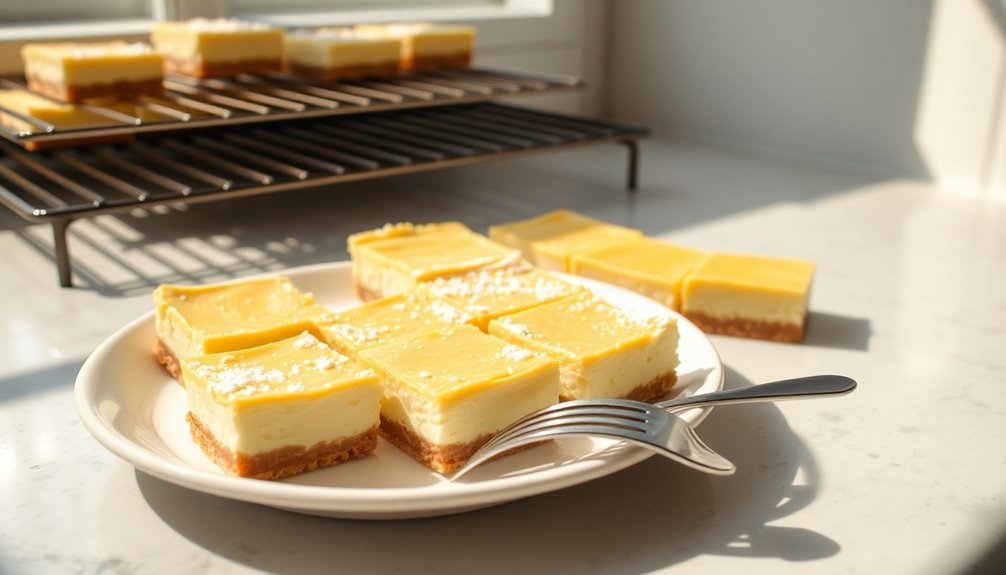
Once your cheesecake bars are out of the oven, it's crucial to let them cool properly. This step is vital for achieving the perfect texture and ensuring they maintain their shape when sliced. Allow them to cool at room temperature for about an hour, then transfer them to the fridge for at least two hours. This chilling process not only enhances the flavors but also makes them easier to serve.
When it comes time to present your delicious bars, consider these presentation ideas:
- Place them on a stunning platter to create an inviting centerpiece.
- Dust with powdered sugar for a touch of sophistication.
- Garnish with fresh fruit to add vibrancy and freshness.
- Serve with a side of whipped cream for a velvety contrast.
For storage, wrap any leftovers tightly in plastic wrap or store them in an airtight container. They can last for up to a week in the fridge, making them perfect for sharing with family and friends or enjoying throughout the week.
Keep in mind dietary considerations; these bars are gluten-free, making them a great option for gatherings where you want everyone to feel included. You can also explore flavor combinations that cater to different tastes, like adding lemon zest for a zesty twist or chocolate chips for a more decadent experience. By bearing these tips in mind, you'll create a fantastic ambiance where everyone can relish your gluten-free cheesecake bars together.
Variations and Toppings
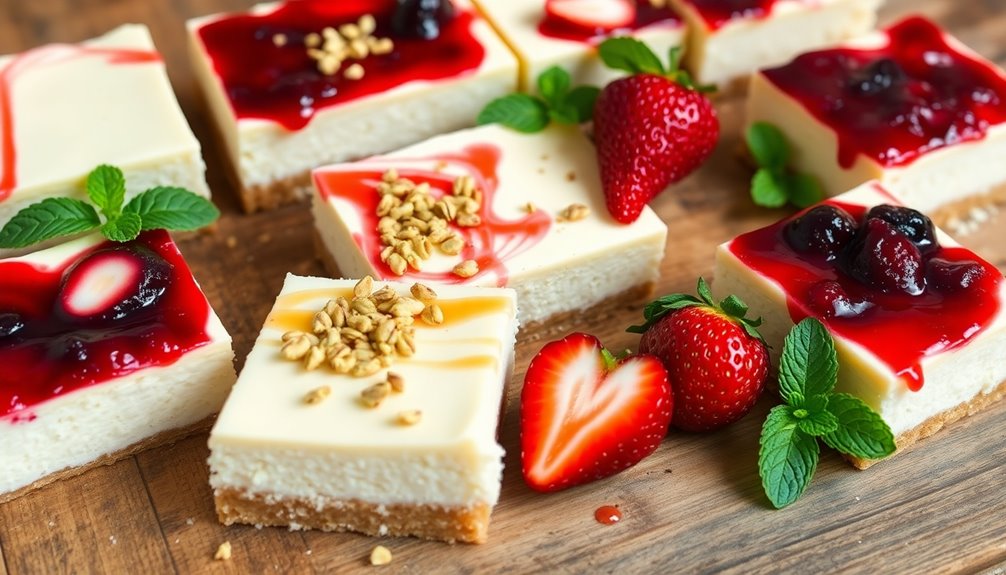
Your gluten-free cheesecake bars can easily transform to suit different tastes with a few simple variations and toppings. Whether you're hosting a gathering or just indulging yourself, experimenting with flavor combinations can elevate your dessert game. Think about adding a swirl of raspberry or blueberry puree for a fruity kick, or mix in some chocolate chips or crushed cookies for added texture and sweetness.
Don't forget about seasonal toppings! In the fall, consider caramelized apples or spiced pumpkin puree to create a cozy vibe. In the summer, fresh berries or a light citrus glaze can bring a invigorating twist. You can even whip up a homemade whipped cream infused with vanilla or almond extract for an elegant finish that everyone will love.
Decorating techniques can also play a significant role in transforming your bars into stunning masterpieces. Dusting with powdered sugar or drizzling a chocolate ganache can instantly elevate the appearance. Get creative with nuts, seeds, or even edible flowers for a touch of whimsy.
Feeling adventurous? Try adding a layer of lemon or lime zest to give your cheesecake a zesty punch. If you're in the mood for something richer, a swirl of Nutella or peanut butter can take your bars to the next level.
With these variations and toppings, you'll create gluten-free cheesecake bars that not only taste amazing but also feel like a warm invitation to everyone at your table. So go ahead, let your creativity shine!
Frequently Asked Questions
Can I Use a Dairy-Free Cream Cheese Alternative?
Absolutely, you can use a dairy-free cream cheese alternative! Many people find that these dairy-free alternatives work well in recipes, providing a similar texture without the dairy. When you do a taste comparison, you might notice slight differences, but they often blend beautifully with other ingredients.
How Long Do These Cheesecake Bars Last in the Fridge?
Picture it: a treasure trove of flavors waiting in your fridge! These cheesecake bars typically last about 5 to 7 days when properly stored. For best results, use airtight containers to maintain freshness.
You can also explore flavor variations by adding fruit toppings or chocolate drizzles. When serving, consider pairing them with a dollop of dairy-free whipped cream for an extra touch.
Enjoy every bite, and share with friends for a true sense of belonging!
Can I Freeze Gluten-Free Cheesecake Bars?
Absolutely, you can freeze cheesecake bars! Just make sure to wrap them tightly in plastic wrap or aluminum foil to protect them. When you're ready to enjoy them again, thaw them in the fridge.
Keep in mind that freezing options might alter the texture a bit, so they may not be as creamy as fresh. But they'll still taste delicious! You'll love having a sweet treat ready whenever you need one.
What Is the Best Way to Cut Cheesecake Bars Neatly?
To cut cheesecake bars neatly, use a sharp knife and warm water for the best knife technique. Dip the knife in hot water, wipe it dry, then slice through the bars. This guarantees clean edges and enhances presentation.
For serving size, cut them into even squares for easy sharing.
If you've got leftovers, store them in an airtight container in the fridge or freezer, so everyone can enjoy them later without losing flavor!
Are Gluten-Free Cheesecake Bars Suitable for Vegans?
When you're considering if cheesecake bars are suitable for vegans, it really depends on the ingredients used. You can find dairy-free options that replace traditional cream cheese with alternatives like cashew or coconut cream.
For a nut-free crust, try using crushed gluten-free cookies or oats. Don't forget to explore flavor variations; adding fruits or chocolate can elevate the taste.
Always check ingredient alternatives to confirm they align with vegan dietary choices.
Conclusion
As you take the cheesecake bars out of the oven, the warm aroma fills your kitchen, teasing your senses. You can't help but imagine the creamy filling melting in your mouth while the golden crust crumbles perfectly beneath your fork. But wait—before you dig in, let them cool, allowing the flavors to meld into something irresistible. Picture the first bite—a moment of pure bliss that'll leave everyone craving more. Are you ready to indulge in this delightful treat?

