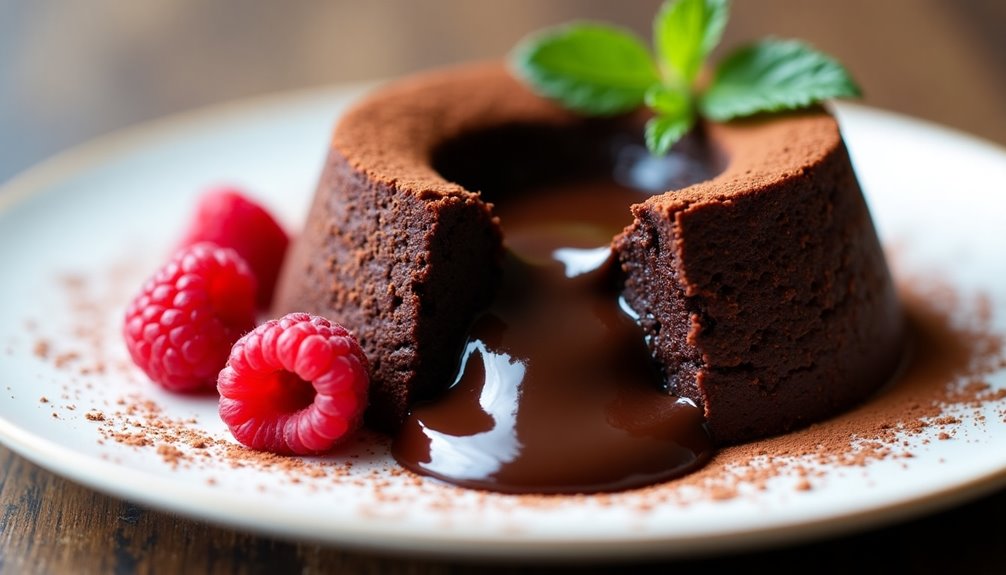
You can indulge in the rich, molten delight of sugar-free chocolate lava cake without the guilt. Start with high-quality dark chocolate, unsalted butter, and your favorite sugar substitute like erythritol or stevia. Melt the chocolate and butter, mix in your other ingredients, and bake for 12-14 minutes to achieve that perfect gooey center. For a unique twist, try adding a hint of espresso or orange zest. Serve it warm with a dollop of sugar-free ice cream and relish every bite. If you crave tips to elevate your cake-making game even further, you won't want to miss what's next.
Key Takeaways
- Sugar-free chocolate lava cake promotes healthier dessert options, reducing calories and sugar-related health risks while satisfying sweet cravings.
- Use high-quality dark chocolate (at least 70% cacao) and a sugar substitute like erythritol or stevia for a delicious, guilt-free treat.
- Bake for 12-14 minutes to achieve a gooey center, and experiment with flavor variations like espresso or orange zest for added depth.
- Store wrapped cakes in the freezer; reheat in the microwave to restore the molten center, and serve warm for the best experience.
- Pair with sugar-free ice cream or whipped cream to enhance the indulgent flavor and enjoy a comforting dessert without the sugar guilt.
Benefits of Sugar-Free Desserts
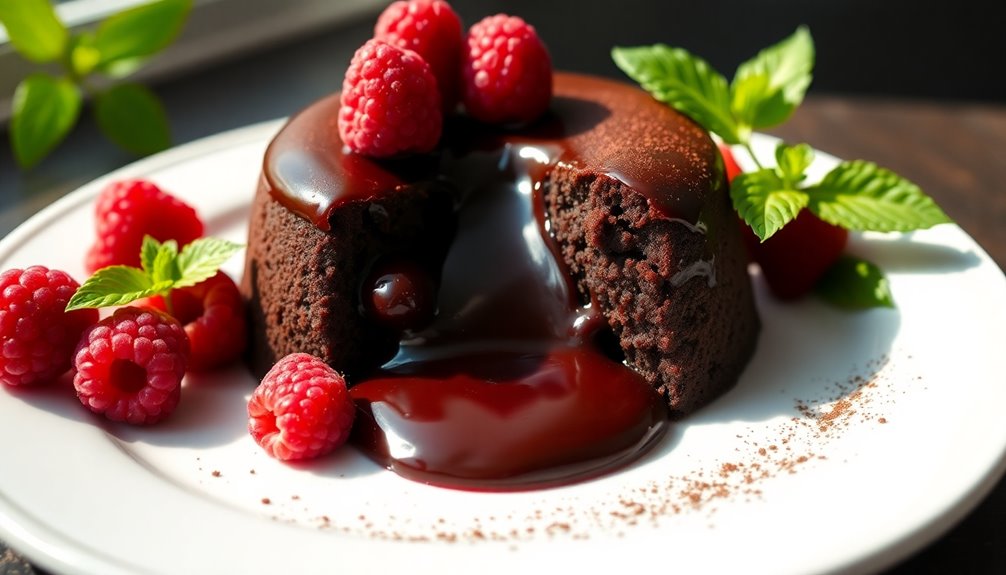
When you indulge in sugar-free desserts, you're not just savoring a delicious treat; you're also making a healthier choice for your body. Imagine sinking your fork into a rich, velvety chocolate lava cake, the molten center oozing with flavor while knowing it won't spike your blood sugar. By opting for sugar-free, you're embracing a lifestyle that prioritizes well-being without sacrificing taste.
The health benefits of sugar-free desserts extend beyond just lower calories. You're reducing your risk of weight gain, improving your energy levels, and lessening the likelihood of sugar-related health issues like diabetes and heart disease. These desserts often contain natural sweeteners or sugar substitutes that provide sweetness without the drawbacks of refined sugar. Your body thanks you for choosing treats that support your health and wellness.
And let's not forget about flavor options! Sugar-free desserts come in a delightful array of tastes, from decadent chocolate to fruity delights. You can experiment with different ingredients to create unique flavor combinations that excite your palate.
Whether you prefer a classic vanilla cake or a zesty lemon tart, you'll discover that sugar-free doesn't mean flavor-free. In fact, you might find yourself enjoying the bold, natural sweetness that comes from using fruits or alternative sweeteners.
Ingredients You'll Need
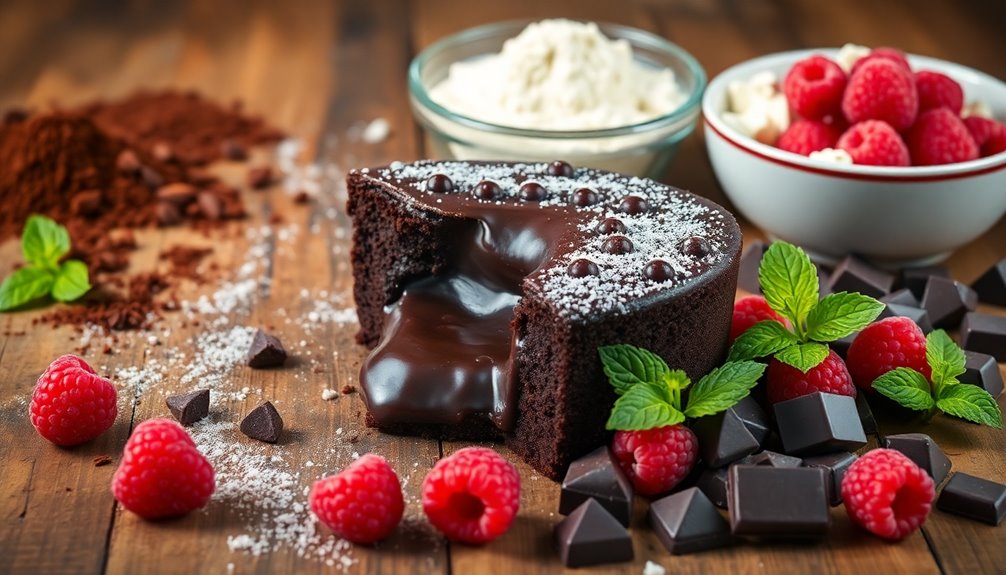
To create a sumptuous sugar-free chocolate lava cake, you'll need a handful of carefully chosen ingredients that come together to deliver a rich, indulgent experience. Start with high-quality dark chocolate—aim for at least 70% cacao. This will provide deep, complex flavors while ensuring you stay on the sugar-free path.
You'll also need unsalted butter, which adds a luxurious creaminess that's essential for that molten center.
Next, grab some eggs. They'll help your cake rise and create a delightful texture, while also allowing you to experiment with baking techniques. If you're looking for a lighter option, consider using egg whites for a fluffier result.
For sweetness, you'll want a sugar substitute, like erythritol or stevia, to perfectly balance the chocolate without the guilt.
Don't forget a pinch of salt—this tiny ingredient enhances all the flavor combinations in your cake, making each bite a heavenly delight. Finally, include a splash of vanilla extract to round out the flavors and add warmth.
As you gather these ingredients, think about how they interact. The dark chocolate's bitterness, the richness of the butter, and the sweetness of your substitute create a symphony of taste. With these components, you're well on your way to crafting a dessert that not only satisfies those chocolate cravings but also brings a sense of belonging to your table. Embrace the process, and let your creativity shine through as you prepare to indulge!
Step-by-Step Instructions
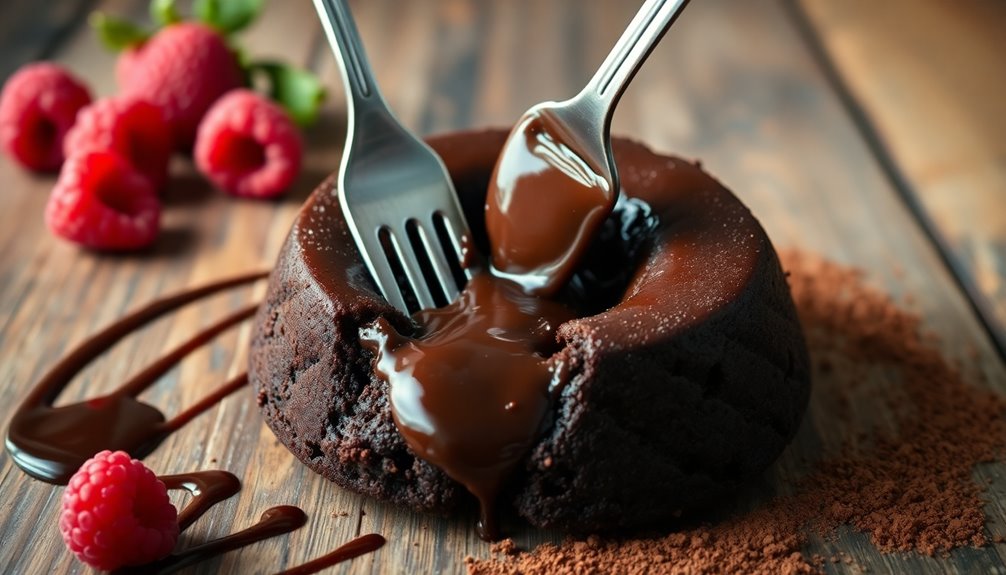
Begin by preheating your oven to 425°F (220°C), allowing it to reach the ideal temperature for baking. While the oven warms up, gather your ingredients and grease your ramekins with a touch of butter or non-stick spray. This step is essential, as it guarantees your decadent treats release easily after baking.
Next, melt your dark chocolate and butter in a microwave-safe bowl, using short bursts of heat. Stir in between to prevent scorching. This melting technique enhances the smooth texture of your lava cake. Once melted, let it cool slightly before adding your sugar substitute, eggs, and vanilla extract. Whisk until everything's beautifully combined, creating a luscious chocolate mixture.
Now, gently fold in the flour, making sure you don't overmix. Remember, keeping some air in the batter is crucial for achieving that perfect rising effect. For an exciting twist, consider adding a pinch of sea salt or a splash of espresso. These flavor combinations elevate your cake, intensifying the chocolate and creating a truly indulgent experience.
Divide the batter among the prepared ramekins and place them on a baking sheet for easy handling. Slide them into the oven and set a timer for 12-14 minutes. The outer edges should be firm while the center remains gooey.
Once baked, allow them to cool for a minute before inverting onto plates. Serve warm and enjoy the rich, molten center that will surely impress your loved ones. Happy baking!
Tips for Perfect Lava Cake
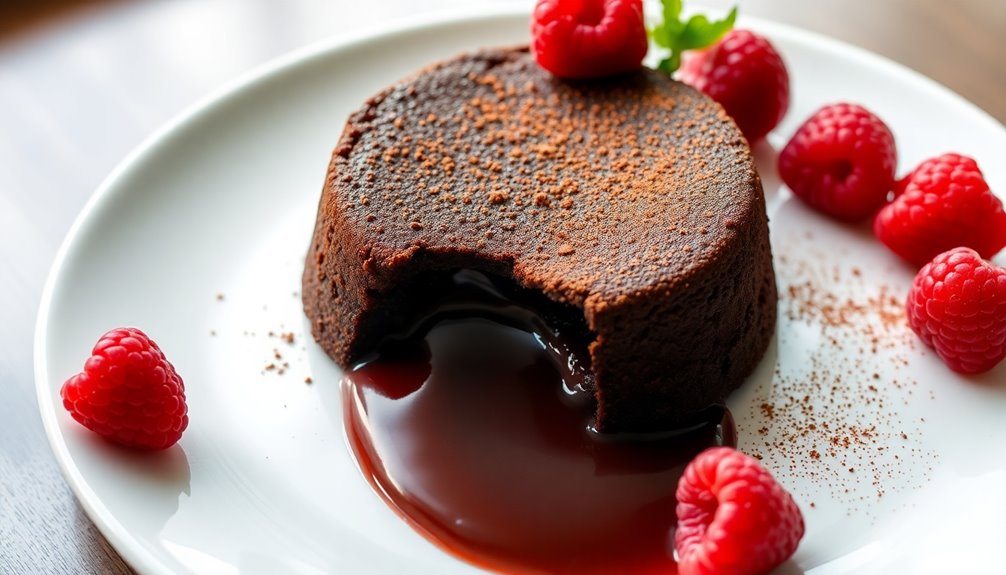
For a truly unforgettable chocolate lava cake, attention to detail can make all the difference. Start with the right baking techniques: the oven temperature is essential. Preheat it to 425°F (220°C) for that perfect rise. Use ramekins coated in butter and dusted with cocoa powder to ensure effortless release after baking.
When mixing your batter, don't overdo it. Combine the ingredients just until they're blended for a light texture.
The key to that molten center lies in the baking time. Bake for about 12-14 minutes—watch closely! You want the edges to be set while the center remains soft and gooey.
Don't hesitate to play with flavor variations! While chocolate is a classic, consider adding a hint of espresso or orange zest to enhance the flavor. You could even swirl in some peanut butter or hazelnut spread for a delightful twist.
Another tip: let your cakes rest for a minute before serving. This brief pause makes it easier to plate without losing that luscious center. Serve with a dollop of whipped cream or a scoop of sugar-free ice cream to enhance the experience.
Alternative Sweeteners to Use
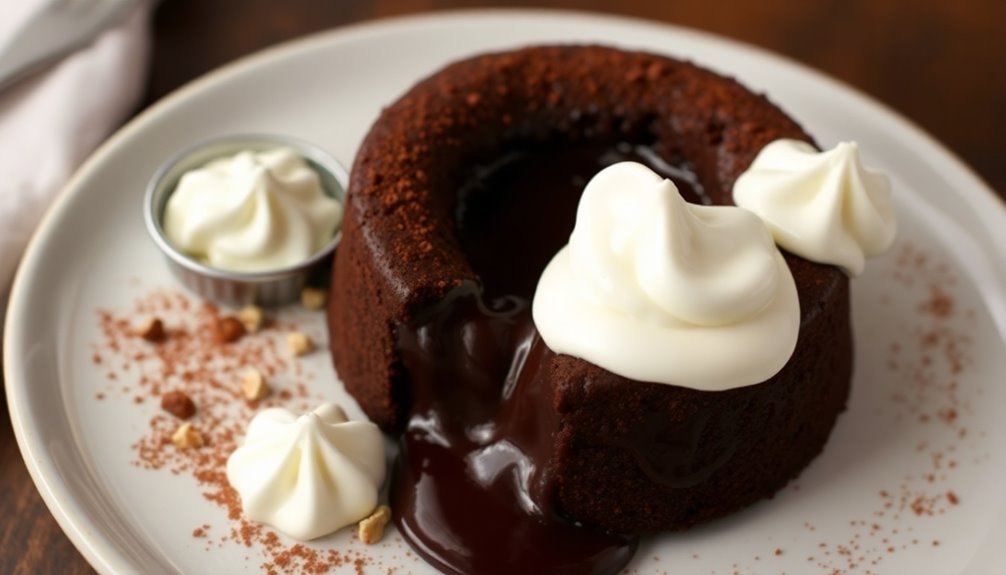
After perfecting your baking techniques, the next step is selecting the right sweetener to keep your chocolate lava cake sugar-free without compromising flavor. You'll find a variety of alternative sweeteners, each offering unique flavor profiles that can elevate your dessert.
Stevia is a popular choice; its intense sweetness means a little goes a long way. It has a slightly herbal undertone that can blend beautifully with chocolate, creating a rich, indulgent taste.
If you prefer something with a more sugar-like texture, consider erythritol. This sugar alcohol mimics the sweetness and mouthfeel of sugar, allowing for a satisfying experience without the calories.
Monk fruit sweetener is another excellent option. It has a clean, sweet flavor that pairs well with dark chocolate, enhancing the cake's richness.
You might also explore allulose; it's a rare sugar that caramelizes well, making it perfect for achieving that gooey lava center.
When substituting any sweetener, keep in mind the ratios; they can vary significantly. Start small and adjust to taste as you experiment with your baking techniques.
Don't be afraid to mix and match sweeteners for a balanced flavor profile that complements your chocolate.
With the right choice, you'll create a decadent lava cake that surprises and delights, proving that sugar-free doesn't have to mean flavor-free. Enjoy the journey of finding the perfect sweetener and indulge in a treat that fits your lifestyle!
Serving Suggestions
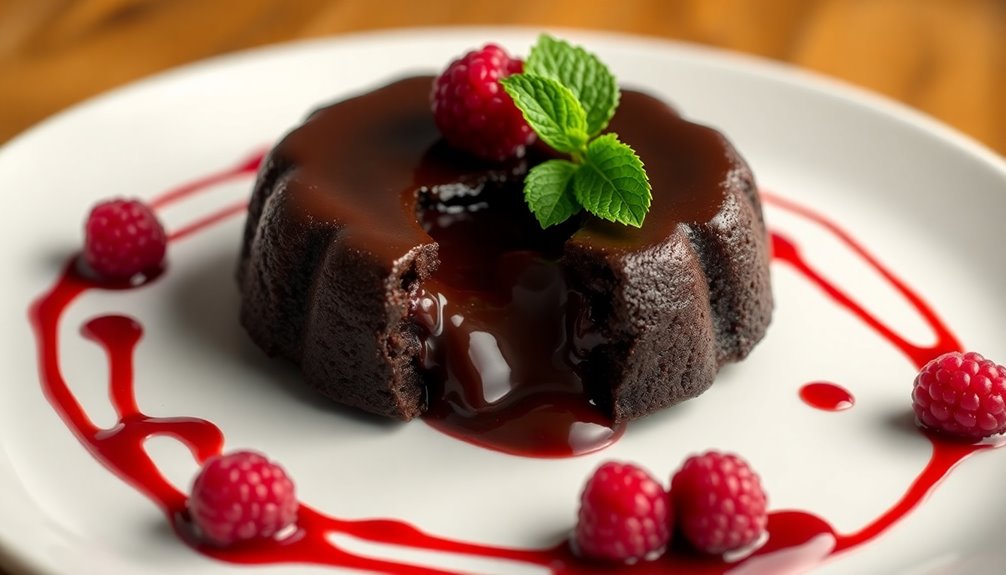
When it comes to serving your sugar-free chocolate lava cake, presentation is key to enhancing the indulgent experience. Start by choosing a beautiful plate that complements the rich, dark color of the cake.
For plating techniques, consider a simple yet elegant design: place the lava cake slightly off-center and dust the plate with a light sprinkle of cocoa powder or powdered erythritol for a touch of sophistication.
Next, think about garnish ideas that elevate the dessert. Fresh berries, like raspberries or strawberries, not only add a pop of color but also provide a revitalizing contrast to the warm, gooey center of the cake.
A dollop of homemade whipped cream, sweetened with a sugar substitute, can add a delightful creaminess. For an extra flourish, drizzle a bit of sugar-free chocolate sauce or a caramel-like sauce made from alternative sweeteners around the plate.
Pairing suggestions can make your dessert even more memorable. Consider serving your lava cake alongside a scoop of vanilla or coconut-based ice cream for a delightful temperature contrast.
As for beverage choices, a rich, dark coffee or a glass of unsweetened almond milk can enhance the flavors beautifully. Alternatively, a dessert wine or a light, fruity tea can balance the richness of the cake, ensuring your guests enjoy a truly indulgent experience.
Storing and Reheating Tips
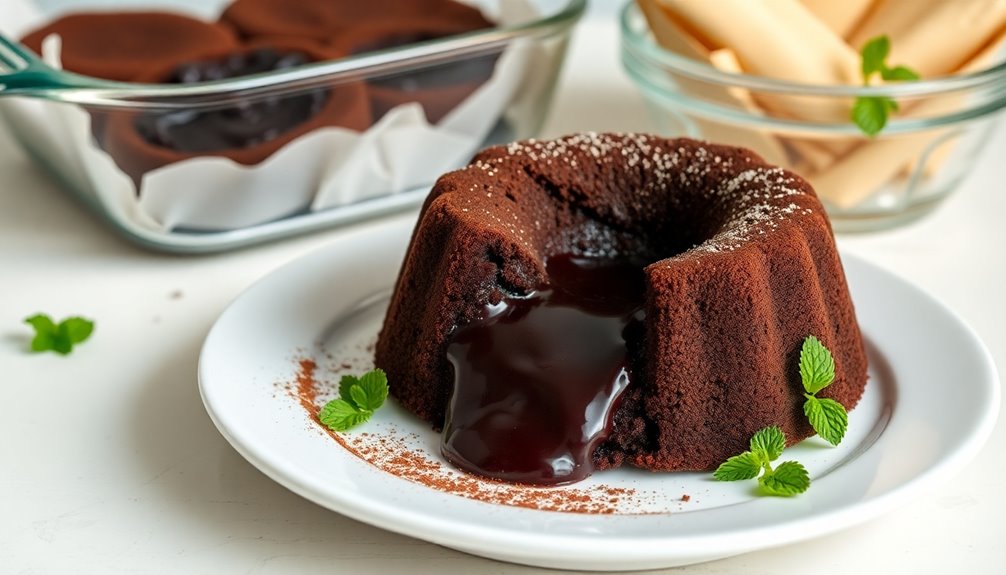
Proper storage and reheating techniques can guarantee your sugar-free chocolate lava cake retains its decadent texture and flavor. To keep your leftovers fresh, start by wrapping each individual cake in plastic wrap or aluminum foil. This will help prevent freezer burn and keep them moist. If you plan on enjoying your cake later, consider freezing leftovers. Place the wrapped cakes in an airtight container or a resealable freezer bag for added protection. Just remember, they can last up to three months in the freezer, though you might be too tempted to wait that long!
When you're ready to indulge again, microwave reheating is the easiest way to revive that gooey center. Simply remove the cake from its wrapping and place it on a microwave-safe plate. Heat it in the microwave on medium power for about 15-20 seconds. Keep an eye on it; you want it warm, not hot. If your lava cake is frozen, give it a couple of minutes to thaw before microwaving.
Once warmed, you'll notice the rich aroma filling your kitchen, inviting you back into that moment of chocolate bliss. Serve it with a dollop of sugar-free whipped cream or a sprinkle of cocoa powder for an extra touch. With these simple storing and reheating tips, your chocolate lava cake will always be ready for a warm, satisfying treat, bringing a sense of comfort and indulgence to any gathering. Enjoy!
Frequently Asked Questions
Can I Make This Dessert Gluten-Free?
Absolutely, you can make this dessert gluten-free! Start by using gluten-free flour or almond flour as your ingredient substitution. These alternatives will give you a similar texture without the gluten. Just remember to adjust your baking time slightly, as gluten-free mixtures often cook faster. Keep an eye on it toward the end.
With these simple changes, you'll create a delicious treat that everyone can enjoy, bringing everyone together around the table.
How Many Servings Does This Recipe Yield?
You'll find that most recipes yield about 8 servings, making it perfect for sharing. With some baking adjustments, you can guarantee each serving is just right for dessert presentation.
Imagine a gathering where everyone enjoys their own luscious portion, creating a sense of belonging as you all indulge together.
It's not just about the number; it's about how those servings bring people together over a delightful treat. Enjoy the moments as much as the dessert!
Can I Use a Microwave Instead of an Oven?
You can definitely use a microwave instead of an oven, but keep in mind that the results might differ.
Microwaves cook faster, so you'll need to adjust the baking time. Watch closely to avoid overcooking, as the texture mightn't be the same as what an oven provides.
Experimenting can be fun, and you'll discover what works best for you. Just remember, patience is key when creating something delicious!
Is This Lava Cake Suitable for Diabetics?
Absolutely, this lava cake can be a game-changer for diabetics! With its rich taste, you won't believe it's sugar-free. The nutritional information shows it uses alternative sweeteners that keep blood sugar levels in check.
Each bite melts in your mouth, offering indulgence without guilt. You'll feel like you're savoring a decadent dessert while still making smart choices for your health. It's a delightful way to enjoy dessert with your loved ones!
What Toppings Pair Well With Sugar-Free Lava Cake?
When you're considering toppings for your lava cake, think about vibrant fruit toppings like fresh berries or sliced bananas that add a burst of freshness.
You might also enjoy nut toppings, like toasted almonds or chopped walnuts, providing a delightful crunch and rich flavor.
Combining these elements not only enhances the dessert's taste but also creates a visually appealing dish, making it perfect for sharing with friends or loved ones at your next gathering.
Conclusion
By choosing a sugar-free chocolate lava cake, you're not just indulging in a decadent treat—you're also making a healthier choice. Did you know that over 70% of Americans are trying to reduce their sugar intake? With this recipe, you can satisfy your sweet tooth without sacrificing your health goals. So, gather your ingredients, follow the steps, and enjoy a rich, gooey dessert that's as delightful as it is guilt-free. Your taste buds will thank you!

